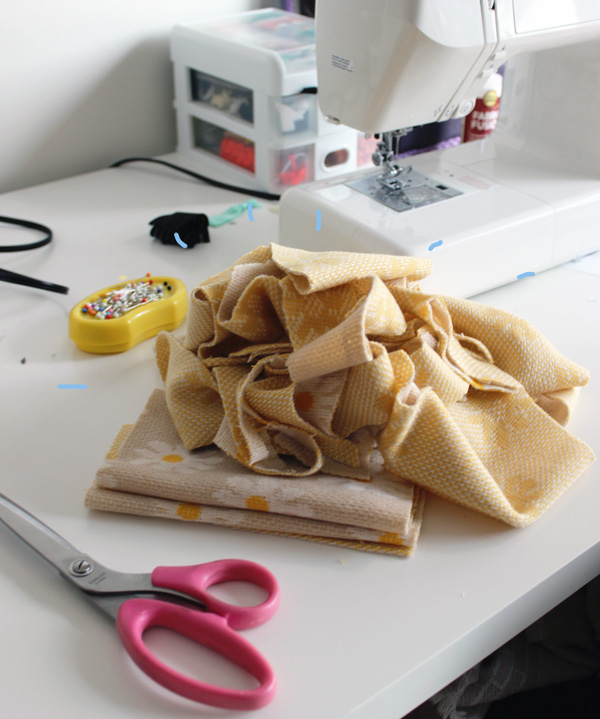
Nothing drives me crazier than a pile of almost-but-not-quite usable scraps. Too big to feel comfortable throwing away but too small to get anything out of it. As I have started buying higher quality fabrics (read: more expensive) I want to get the most out of it as possible. Over the years, I began playing with new ways of cutting out my pattern pieces to save on yardage and have almost always been able to get away with buying less than the recommended amount. As you may have seen in my last two posts, in my most impressive feat, I managed to squeak two garments from only 1.5 m of fabric!
Now, as a disclaimer, I do have to mention that size is a factor here. By being on the smaller end of the size range, there are lots of things I can do with the pre-determined width that fabric comes in (usually around 150 cm) that wouldn’t be possible in all sizes. However, there are still a bunch of tips in here that can generally help in reducing fabric waste and leave you with the most usable off cuts.
Disclaimer number two: You’ve gotta know the rules before you can break ’em! There are very good and important reasons for cutting diagrams, fabric yardages and requirements. Simply ignoring all these things can result in a wonky, twisting, uneven and ill-fitting garment. However, once you have a good understanding of grain, stretch, and construction, you will have a better idea when it’s imperative you do things precisely, and when things can get a little loosey goosey.
The goal of these cutting tips is about maintaining the most available surface area in the off cuttings from your fabric. The larger pieces you can leave yourself at the end of the project, the more likely you’ll be able to use those pieces for something else. If you’re lucky you could get another small garment like a tank top out of it, but even having enough to be able to use it for fun pockets, cuffs, facings or other details is awesome. It’s also very helpful if you bought a fabric on a whim without a project in mind and when you do settle on something, you find it’s not quiiiite enough as the pattern recommends (or, like me, you are torn between two patterns and just decide to make both!).
Generally, to assess if I can make this work, as a first step I will roughly place all the pieces on my fabric to determine if there is enough physical fabric surface area to accommodate the pieces. If so, then let the Tetris begin!
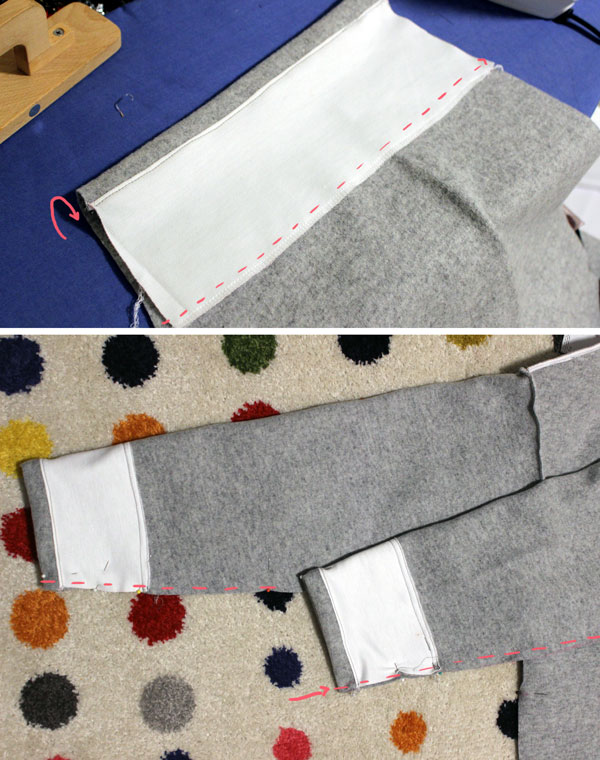
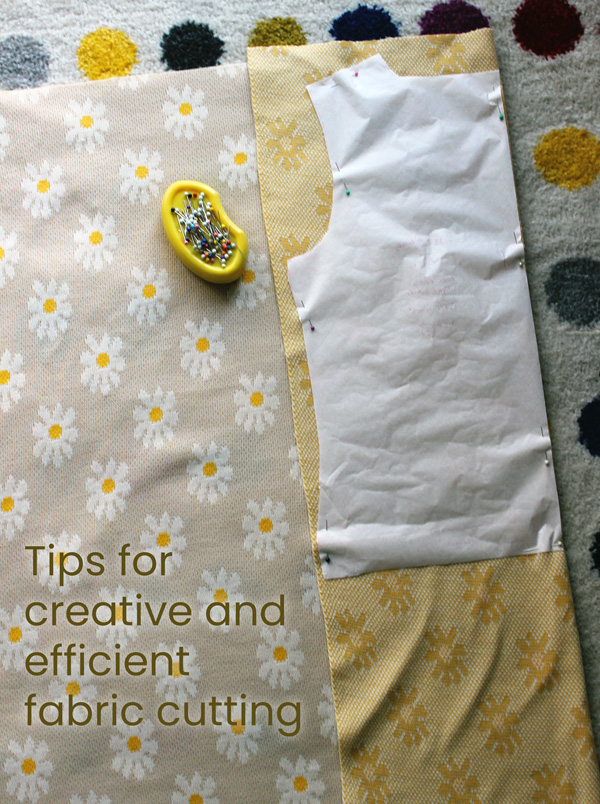
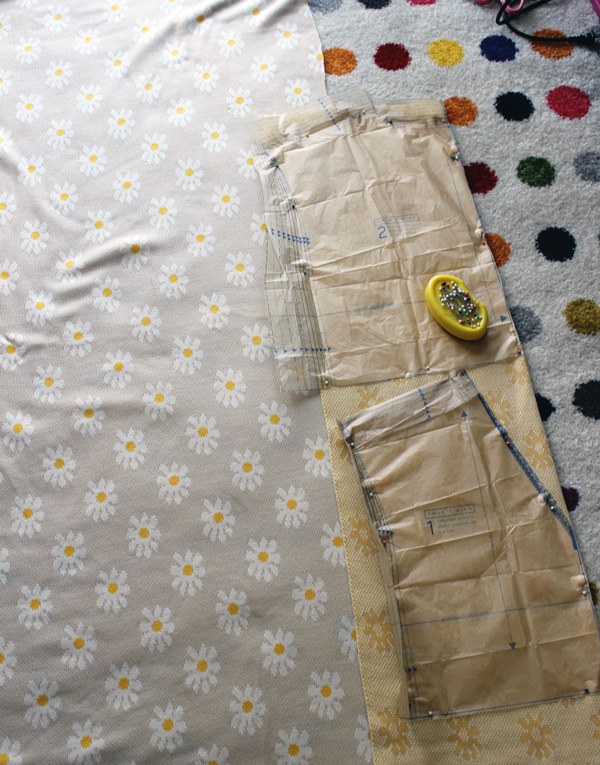
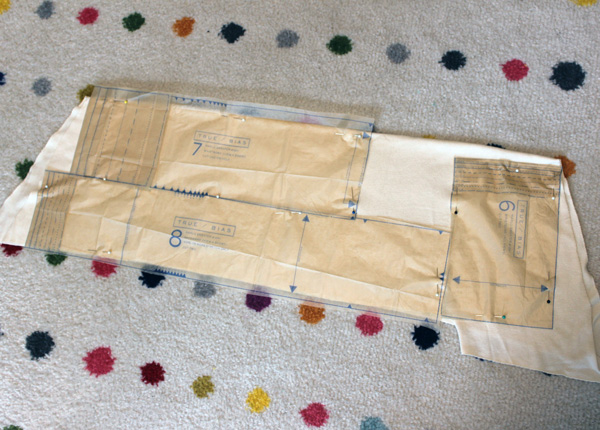
The first tip is one that can be applied to every type of project and that is to cut your pieces out in a single layer, rather than on the fold. This allows you to get everything puzzle-pieced in as closely as possible. However, if you don’t have a large enough space to have the full yardage laid out, (or if you want to be more time efficient) you can still cut things on the fold, just a little more deliberately. Instead of folding all the fabric directly in half, fold over just the width of the pattern piece. This prevents all those random Rorschach shaped pieces leftover in the middle. Usually I will go for more of the ‘average’ width of my pieces but in the case of these sweaters, I did it one piece at a time to get the most efficient space use. This keeps all the funny shaped edges on one side of your fabric and a clean, wide-open yardage on the other.

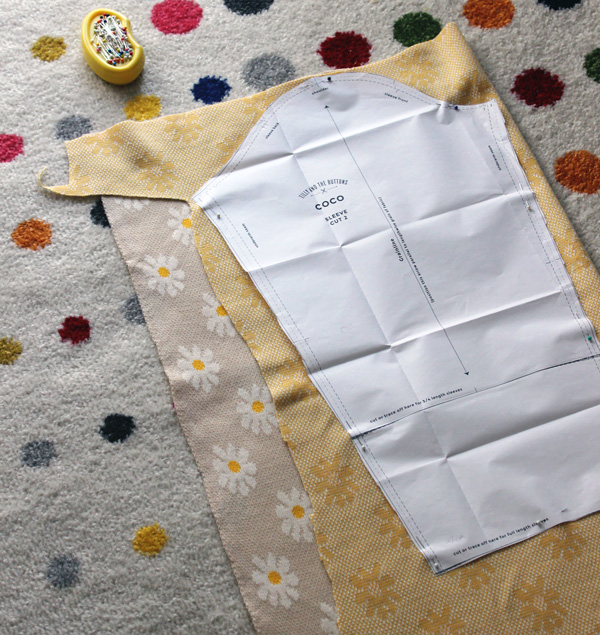
Also, just a general note, but you can put pattern pieces right next to each other. Like, literally touching one another. A lot of pattern diagrams have everything evenly spaced out. There is absolutely no need for this- pattern pieces aren’t cookies that need to spread out! Keep an eye on your grainline and get everything all snuggled up together!
If your fabric is solid or has a non-directional print, you can flip pieces upside down to get things closer together. This works especially well for flared pieces like skirts where the triangles just fit right together.
And now for the more “creative” tips when you have to be especially economical with your fabric.
Depending on the fabric and the garment you can ask yourself; are there some pieces that can be rotated 90 degrees? I find that often I don’t have enough for something like a waistband width-wise, but I usually have a strip on the side I can fit it onto. Or pockets, or cuffs. These little non-structural pieces can usually be a little off grain without ruining the integrity of the garment. It also is great for pieces that are going to be reinforced with interfacings later anyway.
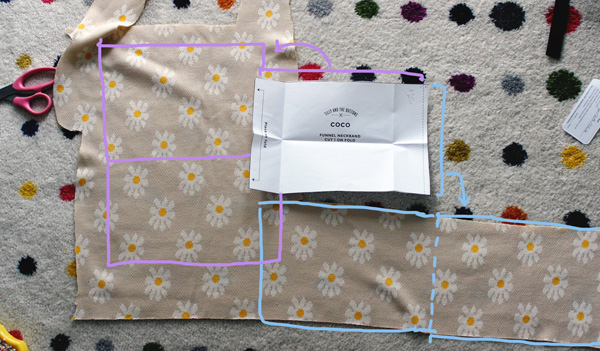
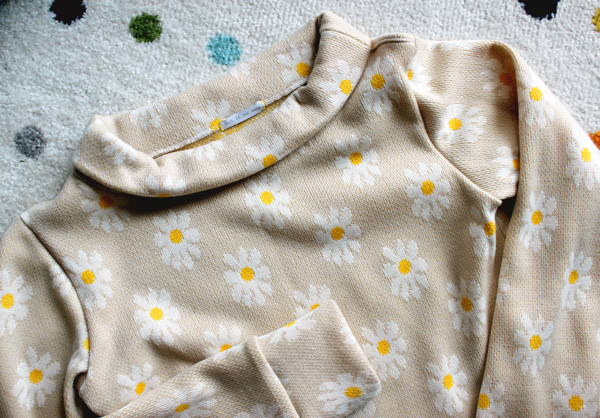
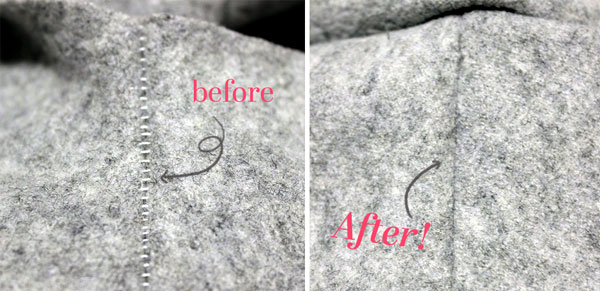
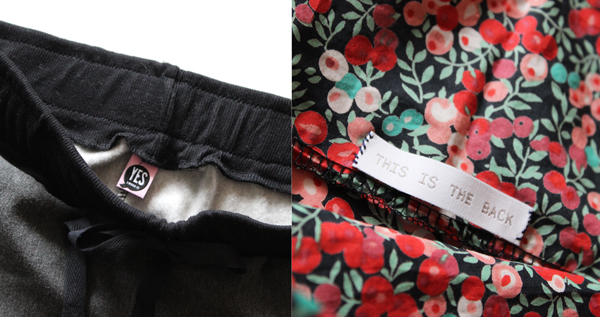
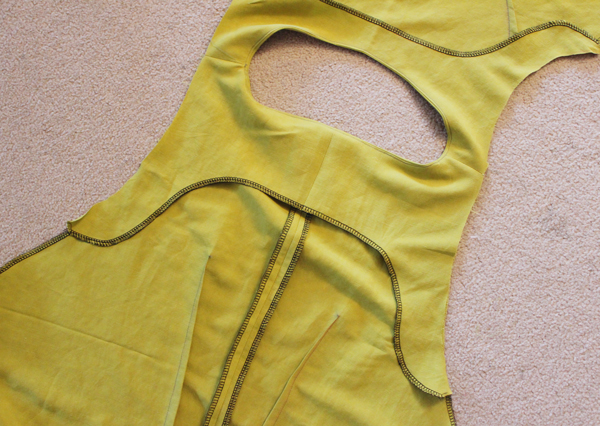
If you have lots of pieces that need to be cut on the fold that demands so much fabric length, you can also ask – is there somewhere in the garment that can get away with a sneaky extra seam? I will often add a center back seam on dresses that were meant for the fold simply because I can cut the pieces separately from elsewhere in the yardage. Just make sure to add in some seam allowance, and honestly you can barely ever notice. On this particular project, I was down to limited options for the funnel neck of the Coco sweater. There was one piece that could have been cut on the fold but it would have reduced the height of the collar. The other option was to have the full height, but it would end up with two seams at the shoulders rather than one seam at the back. You can’t even tell!
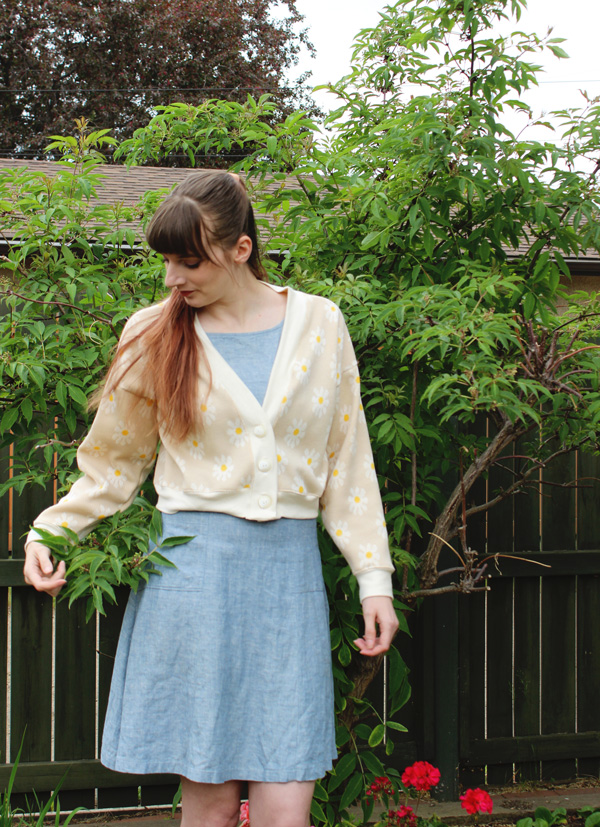
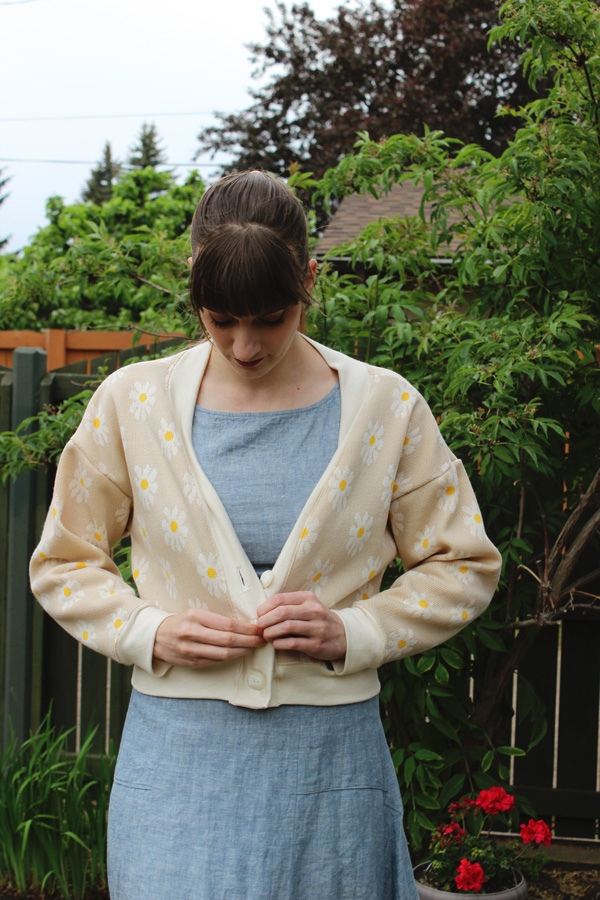
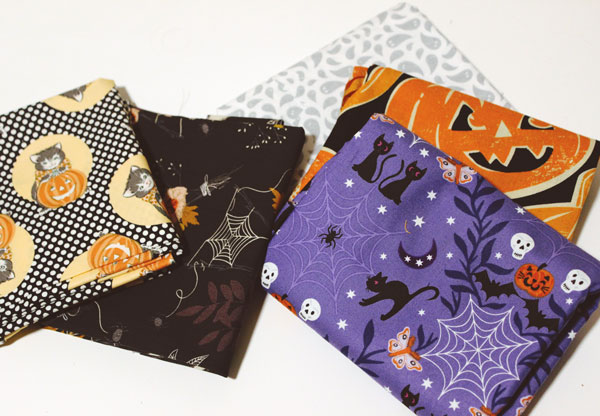
And when push comes to shove and you really are short on fabric… can the pattern pieces be altered a little? Can the waistband be narrower or hem be shorter? For the Marlo sweater, I wanted contrast cuffs and trim (but also needed it since I used every inch of the floral), and my scraps of the ivory knit were pretty thin, so I just reduced the width of the collar and waist trim.
I hope some of these tips have inspired you to think a little creatively about how you cut out your patterns and how to get the most out of your fabric. Do you have any other pattern hacks you use to save fabric? I would love to hear them!