It was nearly a year ago, when over a hot cup of tea my friend Courtney and I poured through the print edition of Seamwork magazine. The styling, the features, the tutorials filled us with giddy sewing & fabric glee. But one piece quickly jumped out at the both of us: The Art of Marbled Fabric. We were taken by the soft swirls and twirls of ink on textile and wanted the results for ourselves.
Fast forward to late this summer and we’d finally sat down and put that craft date into our calendars. We tracked down the materials, brainstormed projects and settled in for some exciting trials in the world of paint floatin’.
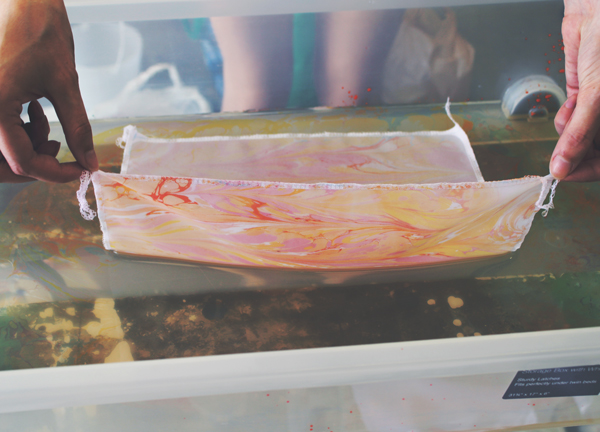
The basic principle of marbling is using a thick, high-density liquid (called Size) to float paint on it’s surface. You can then swirl, pull and twist the paints together in intricate patterns before gently laying your fabric (or paper) flat to the surface to pick up the design. Your fabric is treated with Alum beforehand to help the paint stick to it. Any fiber type will take the paint; what’s more important is that you have a smooth, fine weave for your paint to adhere to.
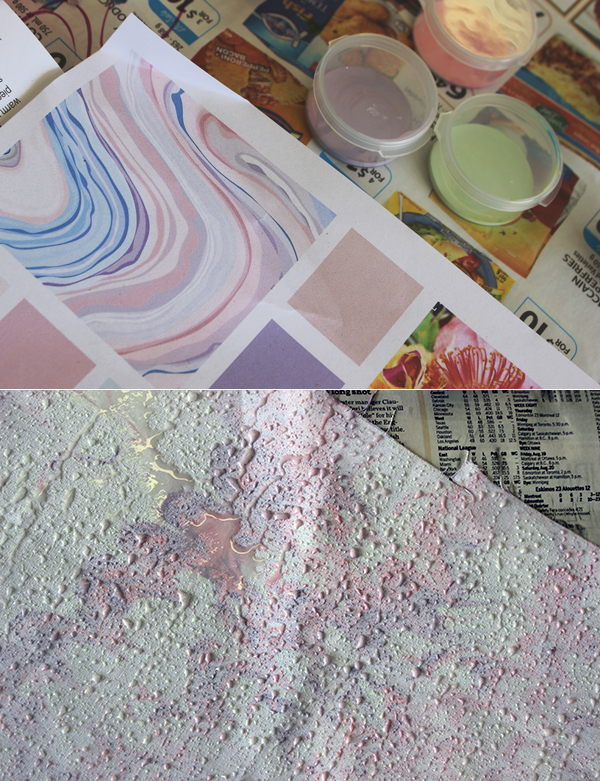
We did a bit of research for supplies and ultimately determined that this Jacquard kit would be the easiest and cheapest way to acquire everything we needed. We ended up using 2 kits (over two sessions) which marbled around 5m of fabric projects and odds & ends. The kit supplied us with plenty, leaving us with lots of the paint and alum leftover. If we had more project ideas, fabric and endurance I am sure we could have yielded even more works from the Size pan we had going.
Since there was no specified ‘best’ fabric type, I dug out multiple white swaths of fabric from my stash to play with. This included a soft (but slightly textured) woven cotton, a mystery twill and a bunch of rigid weave polyester leftover from making a tablecloth for an event booth. Courtney also brought a myriad of textile scraps, including some really light cotton and a flowy chiffon.
The Seamwork article suggests small pieces, for lingerie, bias tapes or table napkins. But for me, I felt it was go big or go home baby. My grand scheme was to make a pastel marbled Sway dress. It would be a masterpiece and a dress of dreams. The one limitation of marbling is the area of your tray. We calculated how much of the Size our kit would make and found the biggest bin that would work for that amount. I luckily had the perfect under-the-bed bin that would allow us to marble decent sized cuts. The bin was, however still too small for the entire length of the dress, so I altered the pattern to have cool angled seamlines at the waist to create smaller pieces to marble.
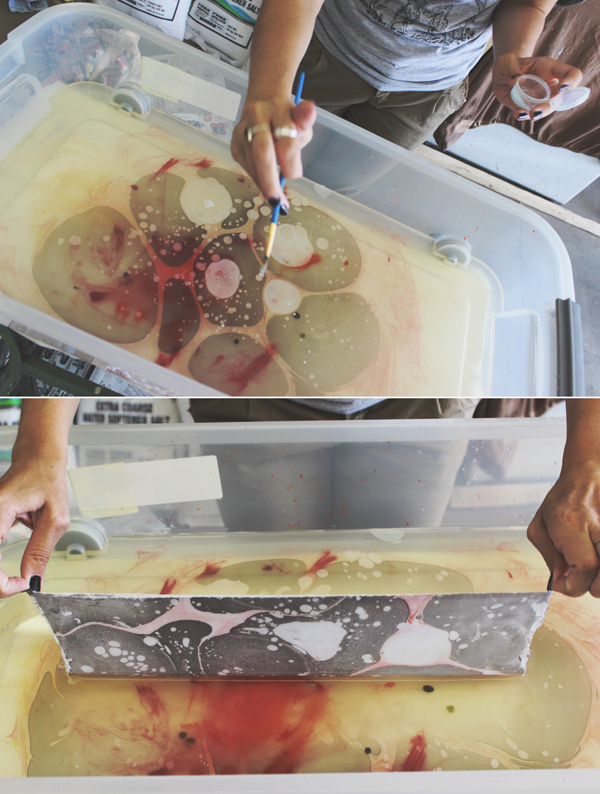
After weeks of excitedly planning projects, making the size, preparing our fabric, we were ready to marble. We took the dyes and mixed a beautiful deep cranberry paint, filled the dropper and…bloop….it fell straight to the bottom. We thought it was game over – we had no more size to make it thicker (and thus the paint floatier). In an effort to salvage the day we tried a few other colours. And lo, it started to work! It turned out the ‘pure’ highly saturated colours floated (and took to the fabric) best, and using a lighter application method (paint brush flicks vs a big dropper) helped a lot as well.

In my nature of being prepared, I had already planned, cut and overlocked the edges of the projects I KNEW I wanted to accomplish, mainly the Sway dress and two pillow covers. This was under the assumption that all the fabrics would work out perfectly the same. Naturally though, some fabrics were better than others.
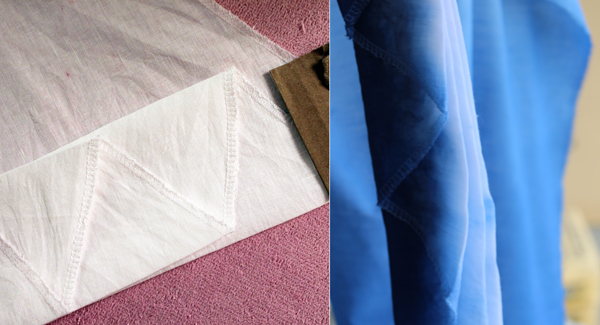
Those with smoothest surfaces took best, mainly the tablecloth polyester (which I used for the pillow covers) and the chiffon, leaving us with colours and patterns bright & true. Some of the cottons worked, but faded a bit when rinsed, unless they used deep tones like dark purple or black. Interestingly, one fabric didn’t take AT ALL – with the paint literally rolling off the surface when lifted, which makes me think there must have been some sort of treatment or coating on the fabric that I did not know about. Before our second run, I washed the fabric in hot water and scrubbed it real good, but it had no impact on the result.
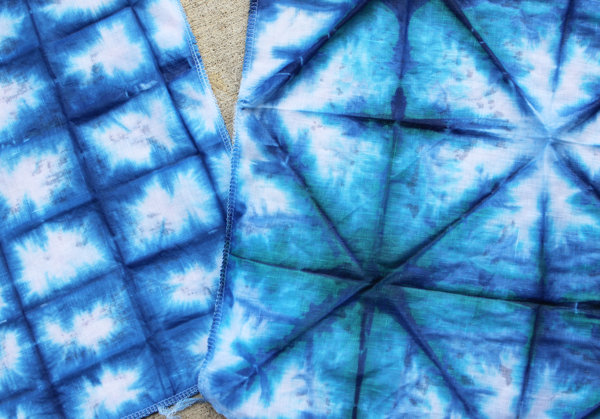
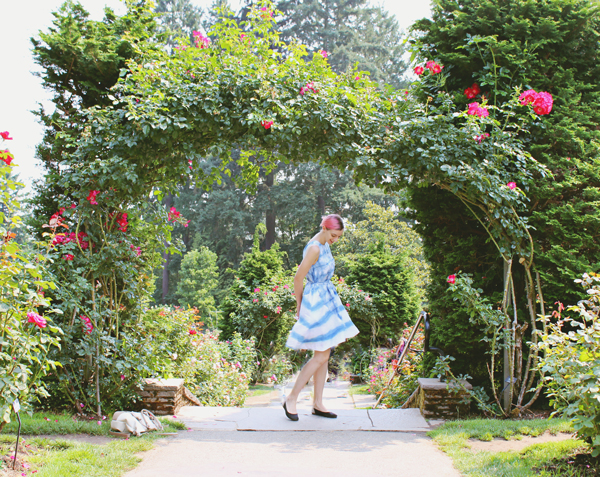
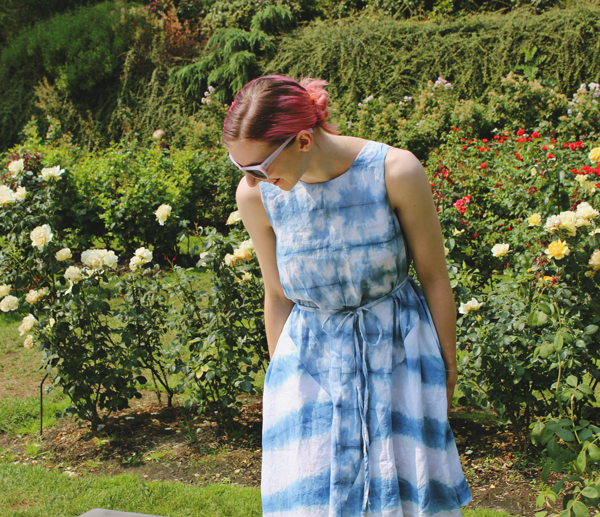
Naturally – the fabric that did not work was the one I had cut my Sway dress of dreams from, and carefully planned the colours and designs. It was going to be perfect – but fate would not have that. Goodbye dream dress. Luckily there happened to be some OTHER fabric craftiness going on that day, so the dress pieces got folded up all nice and dunked into an indigo bath instead (more on that another day).
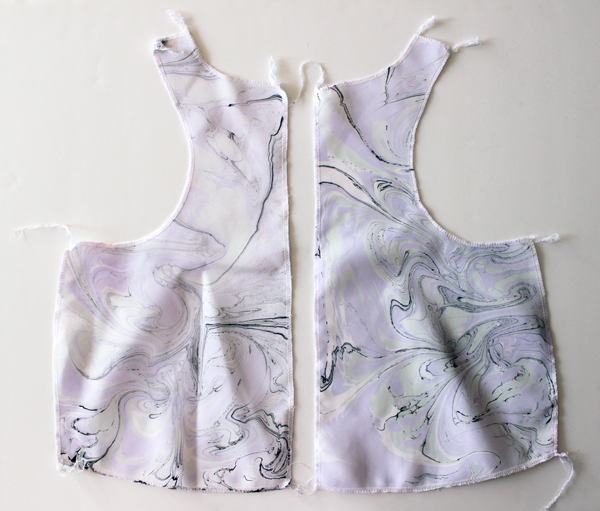
I did not have enough of the other fabrics to re-cut the dress, but I really wanted to make a marbled garment. The polyester had the best results taking the marbling, but is quite rigid. It needed a pattern that had volume and structure to accommodate that, without needing extensive yardage (I didn’t have much left). The wonderful sewing blogosphere led me to Workroom Social and I downloaded the Tate Top pattern and cut a crop top version.
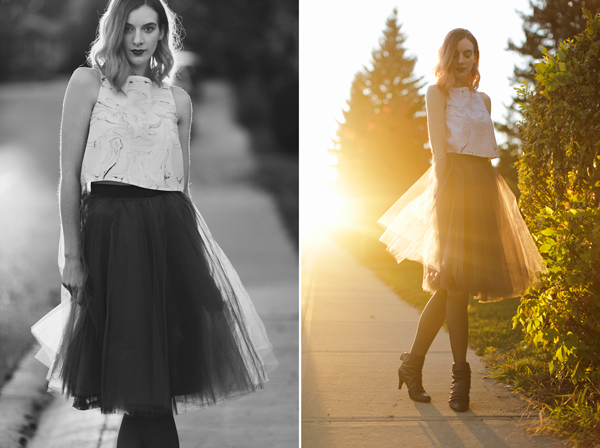
The Tate Top is a free pattern which is awesome, but is also such a flattering cut for me and a very quick, satisfying make. The simplicity of the lines, especially with the darts on the neckline, allowed the marbling to be shown off. The dress of dreams became the crop top of dreams and I love that it is a completely one-of-a-kind object in my wardrobe. I’ve been slow to get into the crop top trend but I have had fun pairing it with high-waisted skirts for work and special events. The fabric is also comfortable, which I was worried about honestly, but so far no complaints. There will definitely be more Tate tops in my future, time will tell if they end up marbled or not.
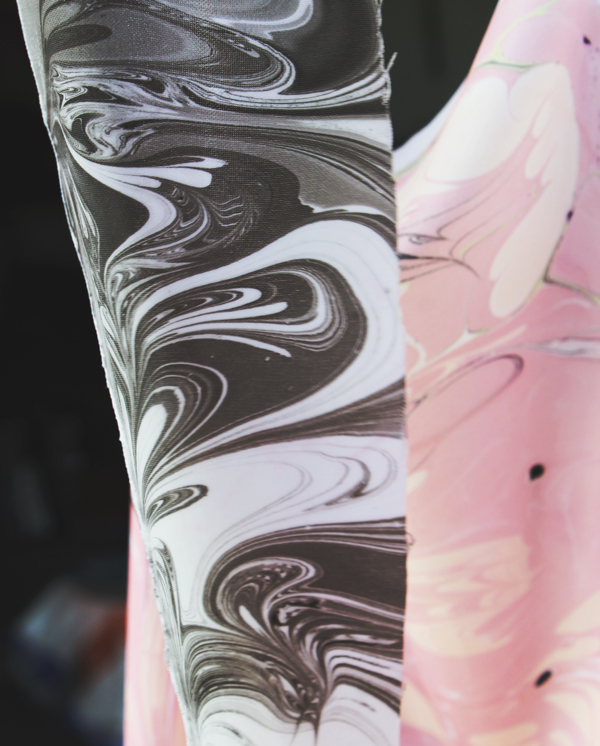
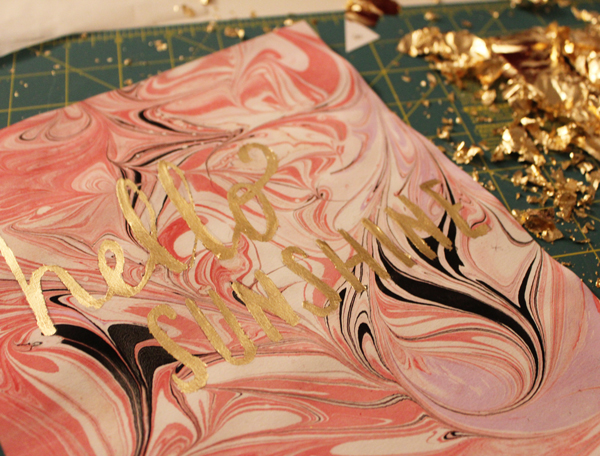
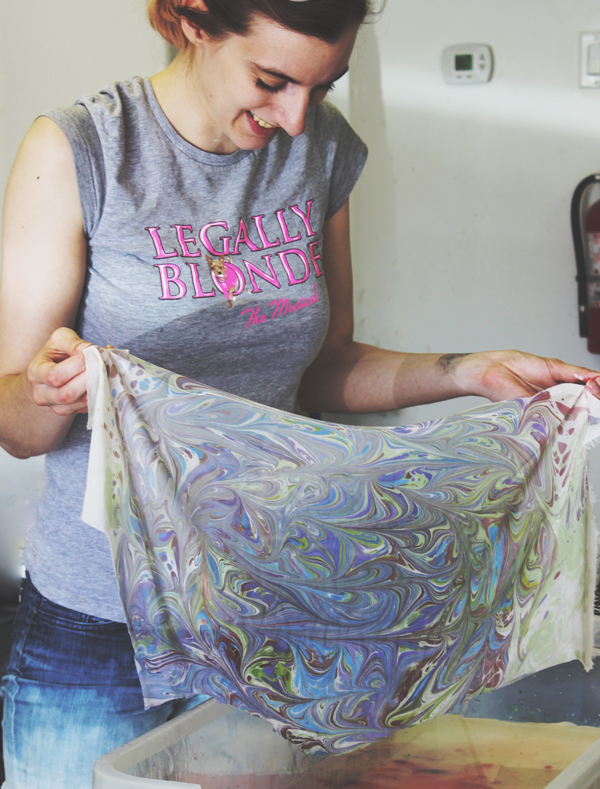
Playing with colour is one of my favourite things, so creating combinations of shades and tones, then swirling them together was so addicting and fun. I found the more you moved and worked with the paints, the finer the detail and more intricate the designs would become. We used every last scrap we had on hand just to experiment with new colours and patterns – even if we had no intended use for them. I selected combinations with bright and interesting colours (usually no less than 3) and it wasn’t until our very last dip before wrapping up the day did I realize the impact of monochrome. That last scrap of black and white was probably one of my favourite pulls of the day. My brain is swirling (ha) with possibilities of single hue marbling, or playing with varying tones of one colour.
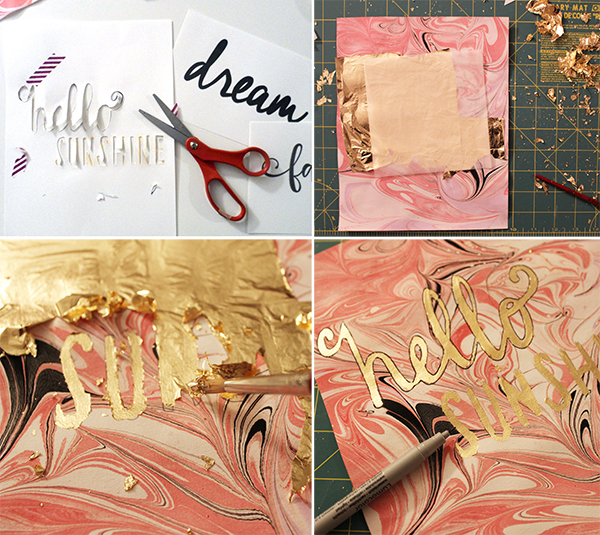
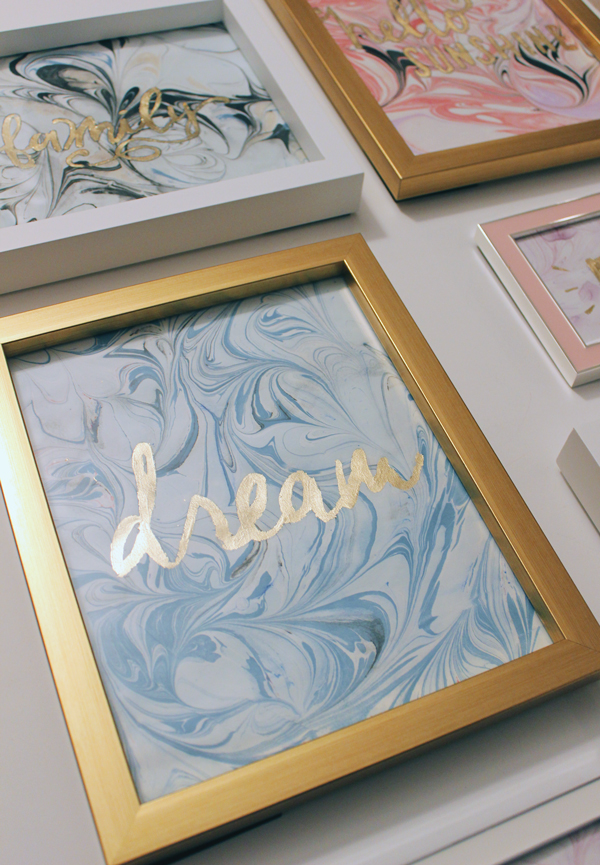
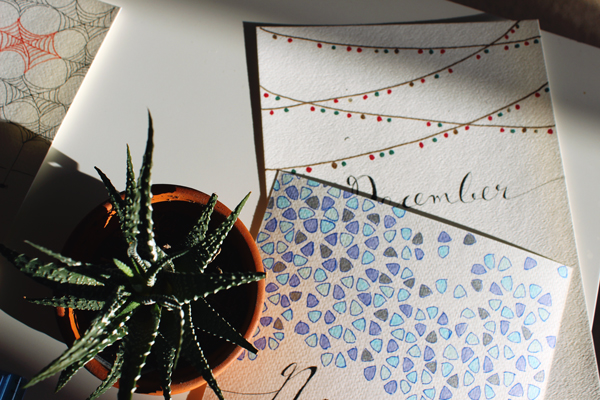
Marbling fabric was such an interesting and fun experience, and I love the impact of the results. I think in my next endeavors I will try marbling some paper – it would be great for art prints, envelopes and gift tags…so many ideas, especially with the holidays coming up. If you have had any experience with marbling, especially paper, I’d love to hear your tips and tricks for next time. And if you have any questions for me please ask – it was honestly far easier to do than I ever expected and so gratifying (plus you’ll love the oohs, aahhs and OMG YOU MADE THAT?!s that come along when people see your work 😉 )
Hooray for marbling!
Special thanks to Dallas Curow for the styled photos and Courtney for being my fabric partner in crime